

Table of contents
Welcome to the first article in a series that will walk you through the process of migrating a legacy app from on-premises to the cloud, with a focus on modernization, serverless platforms, and integrated DevOps practices.
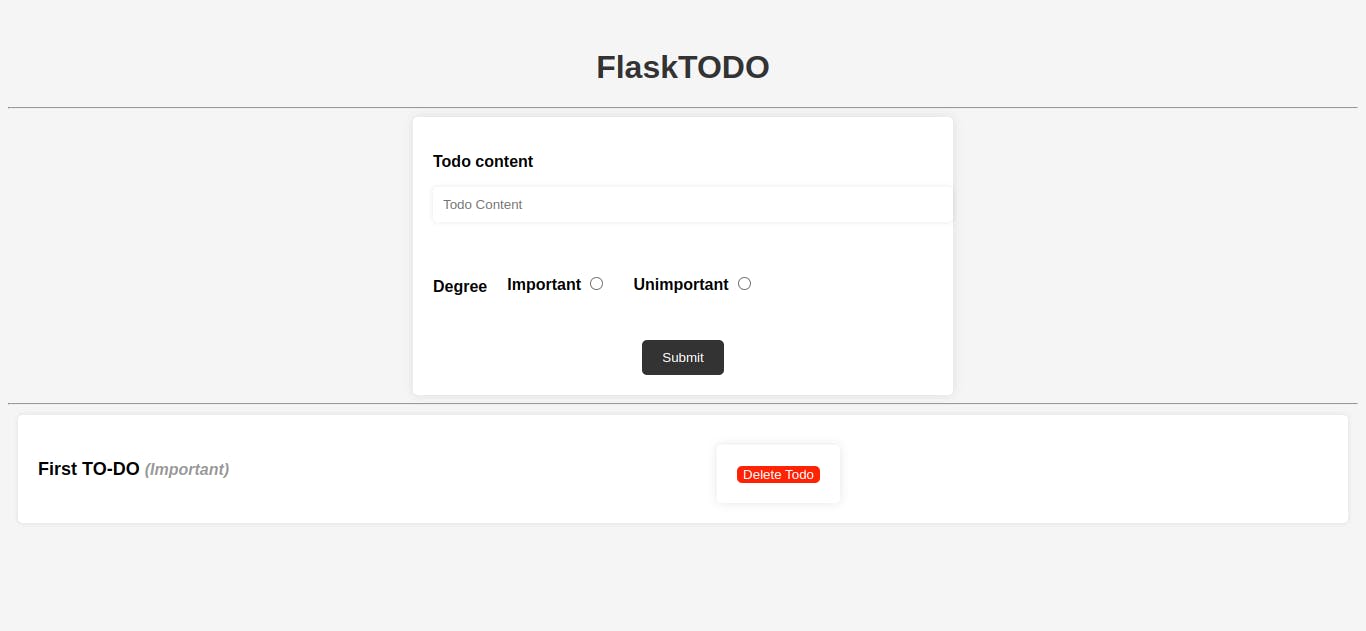
In this article, we will focus on containerizing your app. However, if you're building an app from scratch, that's perfectly fine (in fact, it's even better). For this example, I'm using this DigitalOcean guide to build a simple TODO app using Python (Flask) and MongoDB as the database. I've made some customizations to make it look better, but the main point is to build something that uses a NoSQL document-based database, as this will be required for the upcoming work.
You can clone the repository of the app here on GitHub if you haven't built your own.
Once you have your app built, let's get started!
Dockerfile
Here is the structure of the application directory that we will containerize, followed by the Dockerfile.
.
├── app.py
├── LICENSE
├── README.md
├── requirements.txt
├── static
│   └── style.css
└── templates
    └── index.html
The app.py file is the main application file that contains the Flask app code. The requirements.txt file contains the list of Python dependencies required by the application. The static/ directory contains static files such as CSS, JavaScript, and images. The templates/ directory contains the HTML templates used by the Flask app.
# Use a minimal base image
FROM python:3.9.7-slim-buster AS base

# Create a non-root user
RUN useradd -m -s /bin/bash flaskuser
USER flaskuser

# Set the working directory
WORKDIR /app

# Copy the requirements file and install dependencies
COPY requirements.txt .
RUN pip install --no-cache-dir -r requirements.txt

# Add the directory containing the flask command to the PATH
ENV PATH="/home/flaskuser/.local/bin:${PATH}"

# Use a multi-stage build to minimize the size of the image
FROM base AS final

# Copy the app code
COPY app.py .
COPY templates templates/
COPY static static/

# Set environment variables
ENV FLASK_APP=app.py
ENV FLASK_ENV=production

# Expose the port
EXPOSE 5000

# Run the app
CMD ["flask", "run", "--host=0.0.0.0"]
Here's a walkthrough and breakdown of the Dockerfile:
The Dockerfile starts with a
FROMinstruction that specifies the base image to use. In this case, it'spython:3.9.7-slim-buster, which is a minimal base image that includes Python 3.9.7 and some essential libraries.The next instruction creates a non-root user named
flaskuserusing theRUNanduseraddcommands. This is a security best practice to avoid running the container as the root user.The
WORKDIRinstruction sets the working directory to/app, which is where the application code will be copied.The
COPYinstruction copies therequirements.txtfile to the container's/appdirectory.The
RUNinstruction installs the dependencies listed inrequirements.txtusingpip. The--no-cache-diroption is used to avoid caching the downloaded packages, which helps to keep the image size small.The
ENVinstruction adds the directory containing theflaskcommand to thePATHenvironment variable. This is necessary to run theflaskcommand later.The
FROMinstruction starts a new build stage using thebaseimage defined earlier. This is a multi-stage build that helps to minimize the size of the final image.The
COPYinstruction copies the application code (app.py), templates (templates/), and static files (static/) to the container's/appdirectory.The
ENVinstruction sets theFLASK_APPandFLASK_ENVenvironment variables.FLASK_APPspecifies the name of the main application file, andFLASK_ENVsets the environment toproduction.The
EXPOSEinstruction exposes port5000, which is the default port used by Flask.The
CMDinstruction specifies the command to run when the container starts. In this case, it runs theflask runcommand with the--host=0.0.0.0option to bind to all network interfaces.
With this Dockerfile, the application can be containerized and executed. However, it's important to note that our app requires a database to store the data created or generated while it's running. Of course, you could separately pull a MongoDB database image and run it independently. Then, make adjustments on both sides to establish communication between the two containers so that the app can successfully store data in the database. While this approach works, it may consume time and be a bit tedious. To streamline the process, we will instead move forward with Docker Compose. In Docker Compose, everything is declared in a YAML file, and by using the docker-compose up command, we can start and operate the different services seamlessly, saving time and effort.
Streamlining Database Integration with Docker Compose
Here is the basic Docker Compose YAML file that we will use to streamline the process.
version: '3.9'

services:
  db:
    image: mongo:4.4.14
    ports:
      - "27017:27017"
    volumes:
      - mongo-data:/data/db

  web:
    build: .
    container_name: "myflaskapp"
    ports:
      - "5000:5000"
    environment:
      - MONGO_URI=mongodb://db:27017
    depends_on:
      - db

volumes:
  mongo-data:
This Docker Compose YAML file is configured to set up two services: a MongoDB database (db) and a web application (web). Here's a breakdown:
Version: Specifies the version of the Docker Compose file format being used (
3.9in this case).Services:
Database (
db):Uses the MongoDB version
4.4.14image.Maps the host port
27017to the container port27017.Utilizes a volume named
mongo-datato persistently store MongoDB data.
Web Application (
web):Builds the Docker image from the current directory (
.).Sets the container name as "myflaskapp."
Maps the host port
5000to the container port5000.Defines an environment variable
MONGO_URIwith the valuemongodb://db:27017, establishing a connection to the MongoDB service.Specifies a dependency on the
dbservice, ensuring that the database is started before the web service.
Volumes:
- Defines a volume named
mongo-datafor persisting MongoDB data.
- Defines a volume named
In summary, this Docker Compose file orchestrates the deployment of a MongoDB database and a Flask web application, ensuring they can communicate and function together seamlessly.
Now navigate to the directory with the Docker Compose file and run docker-compose up to start MongoDB and a Flask web app. Access the app at http://localhost:5000 to ensure everything works as expected.
To stop, use docker-compose down.
All good? Next up: migrating the workflow to Kubernetes in the next article.
